


 عربى
 中文简体
Search by posts
Calendar
Product Categories
Industry News
 By Admin
Why Use an Air Sander? Key Benefits, Real Costs, and Shop-Floor Trade-Offs
A technician working on a welded aluminum trailer panel reaches a tight seam near a rivet line. The electric random-orbit sander in hand is too tall to sit flat, the motor housing grows warm after ten minutes, and the cord keeps catching on the fixture. A compact air belt sander with a 10 mm belt reaches the same seam, runs cool, and keeps its speed under load. That scene explains much of the practical answer: an air sander is worth using when compressed air is available, the work is continuous or awkward to reach, and the operator needs a small, durable tool that does not put a hot electric motor close to the hand. The conclusion comes first: use an air sander for long production runs, confined areas, wet or dusty environments, and applications where low tool weight and cool operation matter more than portability. Do not choose air simply because it sounds professional. An air sander demands a compressor with enough delivered airflow, clean dry air, suitable filtration, and a hose layout that does not strangle movement. If those conditions are missing, a good electric sander will usually be the lower-risk purchase. The core reason is power density. A pneumatic motor packs useful torque and speed into a small, light housing. There is no armature, field winding, or battery pack in the hand, so the tool can be narrow enough to reach inside frames, between ribs, and along edges that a larger electric sander cannot touch. The motor also runs cooler in sustained use, because the expanding compressed air carries heat away from the tool. In a production cell where the sander runs for minutes at a time, that difference affects comfort and duty cycle. Air sanders also tolerate stalling and overload more gracefully. If the abrasive grabs or the operator leans too hard, the air motor slows or stops. In many designs, that is less likely to burn out a motor than an electric tool pushed beyond its limit. The operator can back off, restore speed, and continue. This is not a license to abuse the tool, but it is a practical advantage in welding shops, foundries, maintenance bays, and fabrication cells where load varies from second to second. A production sander may run for 20 minutes out of every hour. Heat is the quiet enemy of small electric motors. Air motors discharge cold exhaust and rely on compressed air for cooling, so they can sustain duty cycles that would make a compact electric tool uncomfortable or thermally limited. The trade-off is air consumption. A small belt sander may use 4 to 8 cfm at 90 psi, while a larger angle sander can demand far more. The compressor, receiver, and piping must supply that volume at pressure while the tool is working, not just when it is idle. Many air sanders have a slim body and a low-profile head. That shape helps when the operator must keep the abrasive flat on a surface while the wrist is rotated. A tool that sits closer to the work reduces leverage on the wrist and makes long edges easier to follow. Balance matters as much as weight. A 1.2 kg tool with a well-placed grip can feel easier to control than a 1.0 kg tool with a top-heavy motor. Before buying, hold the sander in the position you will actually use. Check whether the trigger, exhaust, and hose swivel interfere with the hand. Pneumatic tools are often chosen where exposed electrical components are undesirable. That does not make every air sander suitable for a wet booth or a solvent-rich area. The tool, hose, lubricant, and respirator system must be compatible with the environment. Still, when the application requires water-fed sanding, dust-heavy cast iron cleanup, or work near combustible dust, an air-driven tool can reduce electrical risk. The exhaust must be directed away from the breathing zone, and local exhaust ventilation may still be needed. Air power does not eliminate dust hazards; it changes how they are controlled. Compressed air enters the tool, passes through a regulator or control valve, and drives a rotor with sliding vanes. The rotor turns a spindle or drive wheel. Speed depends on air pressure, flow, motor design, and load. Torque depends on rotor size, vane condition, and pressure. Because air is compressible, the tool responds differently from an electric motor. Speed may drop under load, and the operator may hear the motor slow before the abrasive stops. That audible feedback is useful, but it also means the air supply must be stable. A compressor that cycles on and off can cause speed fluctuation, uneven finish, and inconsistent belt tracking. Pressure at the tool inlet is the number that matters. A gauge at the compressor tank can read 120 psi while the tool sees only 70 psi because of a narrow hose, a restrictive coupler, or a long pipe run. Always check dynamic pressure while the sander is running. Many pneumatic sanders are rated around 90 psi, or 6.2 bar, but the manufacturer’s specification takes precedence. Running higher than rated pressure increases speed and wear; running lower than rated pressure reduces cutting action and may cause the operator to push harder, which damages abrasives and overheats the work. An air sander does not automatically produce a better finish. Finish quality comes from a stable speed, a flat backing, the right abrasive, and a operator who keeps the tool moving. What air power contributes is compactness and cool running, which make it easier to maintain those conditions. On a 20 mm air belt sander, the belt width and contact wheel shape determine how the abrasive meets the work. A hard wheel gives a crisp edge and aggressive cut; a softer rubber wheel follows contours and reduces the risk of gouging. The tool’s balance affects how much pressure the operator applies. Excessive pressure is the most common cause of swirl marks, burned edges, and short abrasive life. Heat changes the way abrasive and coating behave. On paint, clear coat, or aluminum, excessive heat can soften the surface, load the abrasive, and create smears that are difficult to remove. An air sander’s cooler body helps, but the bigger factor is speed control. A variable-speed air sander lets the operator slow the belt or pad for blending and edge work, then run faster for stock removal. If the tool has no speed control, the operator must regulate speed with pressure and trigger technique. That is possible, but it is less repeatable across shifts. For consistent results, choose a sander with a usable speed range and a trigger that gives fine control. Fatigue shows up in finish. When the wrist tires, the tool tilts, pressure becomes uneven, and the abrasive digs into high spots. A compact air sander with a low center of gravity keeps the abrasive flatter for longer. A swivel air inlet helps prevent the hose from twisting the wrist. A rear exhaust can keep air away from the work, but it may blow dust toward the operator if the hose is routed poorly. Front exhaust can clear dust from the cut, but it may disturb light materials. Exhaust direction is a small specification with a large effect on daily comfort. Air sanders are often used with vacuum extraction or wet suppression. The tool itself does not capture dust. If the work produces fine dust, the shop still needs a extraction system, a respirator, and housekeeping. A pneumatic sander can be a good partner to a central vacuum system because the tool has no electric motor competing for space, but the vacuum hose and air hose together can make the tool clumsy. Plan the hose route before committing to a tool. A short, flexible air hose with a swivel and a separate vacuum hose is easier to manage than a bundled assembly that pulls on the operator’s hand. An air sander is only as good as its air supply. The most common failure is not the tool; it is wet, oily, or low-pressure air. Water in the line causes vanes to stick, bearings to corrode, and finish contamination. Oil in the wrong amount can stain wood or paint. Too little lubrication causes wear. Too much oil creates mist. A filter-regulator-lubricator unit is not a decorative accessory. It is part of the tool system. The filter removes water and particles, the regulator sets pressure, and the lubricator delivers a small amount of oil to the motor. In paint-sensitive work, use a lubricator that does not carry oil into the exhaust stream, or use tools designed for oil-free operation. Noise is another real cost. Air motors can be loud, and the exhaust adds high-frequency noise that is tiring over a shift. Hearing protection is mandatory in most shops, but engineering controls matter too. A muffled exhaust, a longer exhaust hose, and a well-maintained motor reduce noise at the source. Vibration is a separate issue. Out-of-balance wheels, bent spindles, and worn bearings increase vibration. If the tool leaves the operator’s fingers tingling after a short run, stop and inspect it. Vibration is not a sign of power; it is a maintenance signal. “Air sander” covers several tools. A random-orbit or dual-action sander uses a pad for broad surfaces. A belt sander uses a continuous abrasive belt for edges, welds, and narrow areas. An angle sander or die grinder with a sanding disc handles heavier stock removal and confined grinding. The choice should follow the geometry of the work, not the other way around. For a flat panel, a pad sander with a suitable orbit is efficient. For a welded corner, a 10 mm or 20 mm belt sander can reach the seam and blend it without removing surrounding material. For a casting with a raised parting line, a compact belt sander or die grinder may be the only tool that fits. Belt width determines the contact patch. A 10 mm belt is narrow enough for internal corners, slot ends, and small weld blends. It removes material quickly but can leave a visible track if the operator is not careful. A 20 mm belt covers more area and is more forgiving on larger faces, but it may not fit into tight geometry. Reach matters as much as width. A standard-length tool may not reach the center of a deep frame. A lengthened sander or an angled head can solve the access problem, but it also changes balance. The longer the tool, the more the operator must support the nose. A compact 10 mm air belt sander is a sensible starting point for mixed repair work because it can blend small welds, deburr slots, and clean up edges without a large contact patch. It is not a replacement for a pad sander on broad panels. It is a specialist tool for places where a larger sander cannot sit flat. The contact wheel shapes the cut. A hard wheel concentrates pressure and produces a sharp, flat edge. A soft rubber wheel conforms to curves and reduces the risk of a sharp scratch. A rubber-driven wheel can improve belt tracking and reduce slip under load. For stainless steel, aluminum, and painted surfaces, the wrong wheel and grit combination can leave deep scratches that take longer to polish out than the original weld took to blend. Test on scrap of the same material and thickness. Start with a finer grit than you think you need, then step down only if the cut is too slow. A 20 mm sander with a rubber-driven wheel is often the better choice when the work needs a wider contact patch and steadier belt tracking. It suits frame work, rail blending, and general fabrication where the extra width improves flatness without making the tool too bulky. Before comparing sander models, measure the air system. The compressor must deliver the tool’s rated flow at the required pressure while other equipment is running. A small receiver and a long, narrow hose will not compensate for a compressor that is too small. Start with the sander’s cfm at the stated pressure. Add 20 to 30 percent headroom for pressure drop, wear, and future tools. Check the hose diameter. A 1/4 inch hose may be adequate for a small sander on a short run, but a 3/8 inch hose is often safer for higher-flow tools. Use high-flow couplers and avoid unnecessary elbows and quick-connect restrictions. Static pressure tells only half the story. Install a gauge at the tool inlet or use a test gauge with a tee. Trigger the sander and read the pressure while it is running. If the pressure drops more than 10 psi below the rated value, find the restriction. Common causes include a clogged filter, a undersized regulator, a kinked hose, or a coupler with a small bore. Fix the air system before blaming the tool. A sander that feels weak on the bench may perform correctly once inlet pressure is restored. Water is the enemy of air motors and finishes. Drain the compressor receiver daily. Install a coalescing filter and a particulate filter before the tool. Keep the filter element clean. If the shop paints or finishes high-value surfaces, use a desiccant dryer or a refrigerated dryer that meets the finish specification. Lubrication should follow the tool manufacturer’s instruction. Too little oil wears vanes and bearings. Too much oil creates mist and contamination. An automatic lubricator can help in a production line, but it must be set correctly and monitored. In a job shop, manual oiling before each shift is often more controllable. The tool is only half the cutting system. Abrasive type, grit, backing, and belt joint quality decide the finish and the cost per part. A cheap belt that breaks at the joint or loads quickly will cost more in downtime than it saves at purchase. For metal, choose an abrasive suited to the alloy and the heat sensitivity. For paint, choose a backing that stays flat and a grit sequence that removes defects without digging into the panel. For aluminum, use a lubricant or a coating that resists loading. For stainless steel, avoid contamination from carbon steel abrasives; keep separate belts for stainless work. A practical sequence for weld blending on mild steel might start with 60 or 80 grit, move to 120, then finish with 180 or finer if the surface will be painted or polished. The exact sequence depends on the weld size, the material, and the finish requirement. Do not jump from 60 to 240 and expect a uniform scratch pattern. Each step should remove the scratches from the previous step. On a narrow belt sander, the scratch direction follows the belt. Blend in one direction, then change direction only when the finish specification allows it. For a visible brushed finish, consistency of direction matters as much as grit. Variable speed is not a luxury on an air sander. It lets the operator match belt speed to the material and the abrasive. High speed removes material quickly but generates heat and can burn thin metal. Low speed gives control on edges and curves. A sander with a short trigger travel and a stable speed range is easier to use than one with a simple on-off valve. If the tool has a speed regulator, mark a few settings for common jobs. That reduces setup time and makes results easier to repeat across operators. A variable-speed 10 mm air belt sander gives the operator a useful range for blending, deburring, and finishing without changing tools. It is particularly helpful when the same station handles stainless, aluminum, and painted parts with different heat limits. Air sanders produce sparks, dust, noise, and high-speed abrasive contact. Eye protection is required. Face protection may be needed for overhead work. Hearing protection is required in most production environments. Respiratory protection and dust extraction are required when the work produces fine particulate. Gloves should fit closely and must not be loose enough to catch in the belt or pad. Loose clothing, jewelry, and long hair must be controlled. The workpiece should be secured. A sander can spin a small part or pull it out of a hand in an instant. A belt sander can snag on a sharp edge, a burr, or a gap. When it does, the tool can kick or the workpiece can move. Keep both hands on the tool where possible. Approach edges at a slight angle and reduce speed before the belt crosses a gap. Check belt tracking before starting. A belt that walks off the wheel can tear or throw debris. Inspect the belt joint and the drive wheel for damage. Do not run a belt with a missing joint or a frayed edge. Air tool exhaust can carry oil mist and fine dust. Route the exhaust away from the operator’s face and away from the work surface if it disturbs the abrasive or blows dust into the air. In confined spaces, use a longer exhaust hose to move the discharge outside the breathing zone. If the tool is used in a paint or coating area, confirm that the exhaust does not contaminate the finish. Air sanders are not inherently clean; they move a lot of air. Buying an air sander on price alone is a common mistake. The lower-cost tool may have a shorter life, poor parts availability, or a motor that consumes more air than the compressor can supply. The real cost includes the compressor capacity, air treatment, hose, couplers, abrasives, maintenance, and downtime. A slightly more expensive tool with a rebuildable motor and available vanes and bearings is often cheaper over three years. Ask for the rated cfm, the free speed, the spindle or belt size, the air inlet thread, the recommended pressure, the exhaust direction, and the weight. If the seller cannot provide those numbers, the tool is hard to specify and harder to support. Also confirm the consumable format. A proprietary belt size may be expensive or slow to source. A standard width and length gives more choices and faster replenishment. Check the warranty terms and the expected rebuild interval. A tool that is not rebuildable is a disposable purchase. That can be acceptable for occasional use, but it is rarely the lowest-cost choice in a production shop. Air sanders are simple, but they are not maintenance-free. The motor needs clean air and correct lubrication. The bearings need to run free. The belt tracking and tension need to be checked. The exhaust path must stay clear. A five-minute daily check prevents most breakdowns. At the start of a shift, drain the air line, check the filter, oil the tool according to the manufacturer’s instruction, and inspect the belt or pad. Run the tool for a few seconds and listen for unusual noise. At the end of the shift, wipe the tool, check for loose fasteners, and store it where dust and moisture cannot enter. The rebuild decision is economic. If the housing, spindle, and drive parts are sound, a vane and bearing rebuild is usually worthwhile. If the housing is worn, the spindle is bent, or parts are unavailable, replacement may be cheaper. Keep a small spares kit for critical production tools. A spare sander on the shelf is often the cheapest insurance against a line stoppage. The purchase price is only the first line. An air sander requires a compressor, air treatment, hose, fittings, and sometimes a dedicated drop. If the shop already has those, the incremental cost is low. If it does not, the compressor can dominate the budget. Electric sanders avoid the air system but add cord management, battery cost, or power access. The comparison should be made at the system level. A small air sander may look inexpensive until the compressor, dryer, and filter are included. An electric sander may look convenient until a battery platform, charger, and replacement batteries are added. The operating cost also differs. Air is often described as free, but compressed air is one of the most expensive utilities in a shop. Leaks, poor maintenance, and oversized compressors waste energy. A well-maintained air system with a tight hose and correct pressure is more efficient than a leaking one. Electric tools convert power more directly, but battery degradation and motor heat affect life. The right choice depends on the duty cycle. For a few minutes a week, a handheld electric sander is hard to beat. For a production cell that runs all day, an air sander with a properly sized compressor can be the more durable and comfortable solution. Do not choose an air sander for a remote service call where no compressor is available. Do not choose one for a small shop with a compressor that cannot maintain pressure at the tool. Do not choose one for a clean-room or finish-critical area unless the air is dry, filtered, and oil-free as required. Do not choose one for a job that needs a very specific orbit or pad motion that the air tool does not offer. Electric sanders have a wider range of pad motions, electronic speed control, and dust collection options. Air sanders are strongest in compact, continuous, heavy-duty, and confined work. If the job does not match those strengths, the air tool is the wrong answer. There is also a training cost. Operators must learn to listen to the motor, respect pressure limits, check air quality, and avoid overloading the abrasive. A new operator who treats an air sander like an electric sander may push too hard, run too fast, and blame the tool for poor finish. A short demonstration on scrap material is worth more than a page of specifications. Show the correct belt tension, the sound of a properly loaded motor, and the feel of a tool that is cutting rather than stalling. Use an air sander when you have a reliable compressed air supply, the work is repetitive or confined, and you value cool running, compact access, and a tool that can be rebuilt. Size the compressor and air treatment before the tool. Check dynamic pressure at the inlet. Match the sander type to the geometry: a 10 mm belt sander for narrow edges and small welds, a 20 mm belt sander for wider blends and steadier tracking, and a variable-speed model when one station handles mixed materials. Keep the air dry, the motor lubricated, and the abrasive fresh. If those conditions are met, an air sander is a practical, long-lived production tool rather than a novelty. If you are specifying a sander for a specific seam, alloy, or production rate, the safest next step is to test the tool on the actual workpiece with the intended abrasive and air supply. The company background and product range show where the tools fit in a pneumatic manufacturing program, but the final decision belongs on the shop floor. For air pressure, hose size, or model selection questions, the contact page is the right place to confirm the details before ordering.Why an air sander earns its place on a busy shop floor
Continuous duty and heat management
Access, balance, and operator fatigue
Wet, dusty, and hazardous locations
What an air sander actually does with compressed air
Decision factor
Air sander
Electric sander
Practical effect
Power source
Compressed air at rated pressure and flow
Mains power or battery
Air needs a compressor and dry air; electric needs a power source or charged batteries.
Tool size and access
Usually compact, narrow body, low head height
Motor and electronics can make the body taller
Air often wins in frames, seams, and confined repair areas.
Continuous use
Cool-running motor, good duty cycle
Heat builds in motor and battery
Air suits long production runs; electric suits short or mobile work.
Overload behavior
Motor stalls; recovery is often possible
Heat and current rise; protection may cut out
Air tolerates operator error better in heavy stock removal.
Noise and exhaust
Exhaust noise and oil mist possible
Motor and gear noise
Both require hearing protection; air needs exhaust management.
Portability
Limited by hose and compressor
Easy to move within power or battery limits
Electric is better for service calls and remote sites.
The real benefits: finish quality, control, and consumable life
Cooler operation and finish consistency
Lower operator fatigue and better edge access
Dust and debris management
Where air sanders fall short and how to plan around it
Symptom
Likely cause
Practical fix
Motor slows under light load
Low dynamic pressure, restricted hose, clogged filter
Measure pressure at the tool inlet; replace restrictive fittings; service the filter.
Belt or pad stalls repeatedly
Too much pressure, wrong abrasive, worn vanes
Reduce force; use the specified abrasive; inspect rotor and vanes.
Water spots or oily finish
Wet air, failed separator, over-lubrication
Drain the receiver; install a coalescing filter; adjust the lubricator.
Excessive noise or exhaust spray
Worn bearings, loose muffler, poor exhaust routing
Rebuild the motor; replace the muffler; route the exhaust away from the work.
Belt runs off the drive wheel
Misalignment, wrong belt, damaged tensioner
Check wheel alignment; use the correct belt size; replace worn parts.
Tool gets hot at the head
Lack of lubrication, overload, restricted exhaust
Lubricate correctly; reduce load; clean the exhaust path.
Matching the sander type to the work
Belt width and reach
 RH-10A 10 mm Mini Air Belt SanderCompact 10 mm belt sander for internal corners, small weld blends, and deburring, with 16,000 rpm free speed where larger sanders cannot sit flat.View Product →
Contact wheel and backing selection
 RH-20A2 20 mm Air Belt Sander with Rubber Wheel20 mm belt sander with rubber-driven wheel for steadier tracking and wider contact on frame work, rail blending, and general fabrication.View Product →
Compressed air quality: the hidden buying criterion
Pressure, flow, and dynamic testing
Moisture, oil, and filtration
Abrasives and speed control: where money is won or lost
Grit sequence and surface finish
Variable speed in real use
 RH-10A3 10 mm Variable-Speed Air Belt SanderVariable-speed 10 mm air belt sander for matching belt speed to stainless, aluminum, and painted parts during blending, deburring, and finishing.View Product →
Safety and ergonomics around an air sander
Kickback, snagging, and belt tracking
Exhaust and breathing zone
Procurement checklist: how to buy without regret
Specification
Why it matters
What to confirm
Rated cfm at pressure
Determines whether the compressor can run the tool
Use the tool’s rated pressure and add headroom for the air system.
Free speed and speed control
Matches the tool to material and abrasive
Check whether variable speed is mechanical or air-flow based.
Belt or pad size
Controls access and contact patch
Confirm standard consumable availability.
Exhaust direction
Affects dust, noise, and operator comfort
Decide between front, rear, or rotatable exhaust.
Weight and balance
Reduces fatigue and improves finish control
Hold the tool in the working position before buying.
Parts support
Determines rebuild cost and downtime
Ask for vane, bearing, and trigger availability.
Air inlet and hose size
Prevents pressure drop and flow restriction
Match couplers and hose to the rated flow.
Maintenance and uptime
Interval
Task
Reason
Daily
Drain receiver and filter; check oil; inspect belt or pad
Prevents water damage, wear, and belt failure.
Weekly
Check hose, couplers, and exhaust muffler
Finds leaks and blockages before they affect performance.
Monthly
Inspect bearings, spindle runout, and trigger response
Catches vibration and control problems early.
Quarterly
Clean or replace filters; check lubricator setting
Maintains air quality and consistent lubrication.
As needed
Replace vanes, bearings, seals, and worn drive parts
Restores power and prevents secondary damage.
Cost model: air versus electric
When not to use an air sander
Final recommendation
Recommended products
-
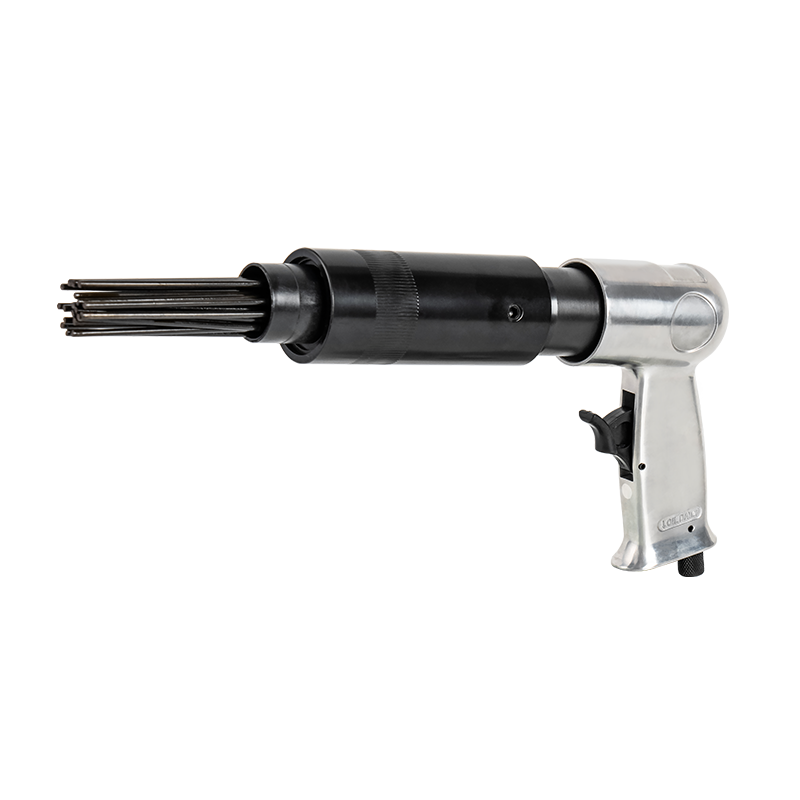
RH-464 Pneumatic Corner Needle Scaler
-
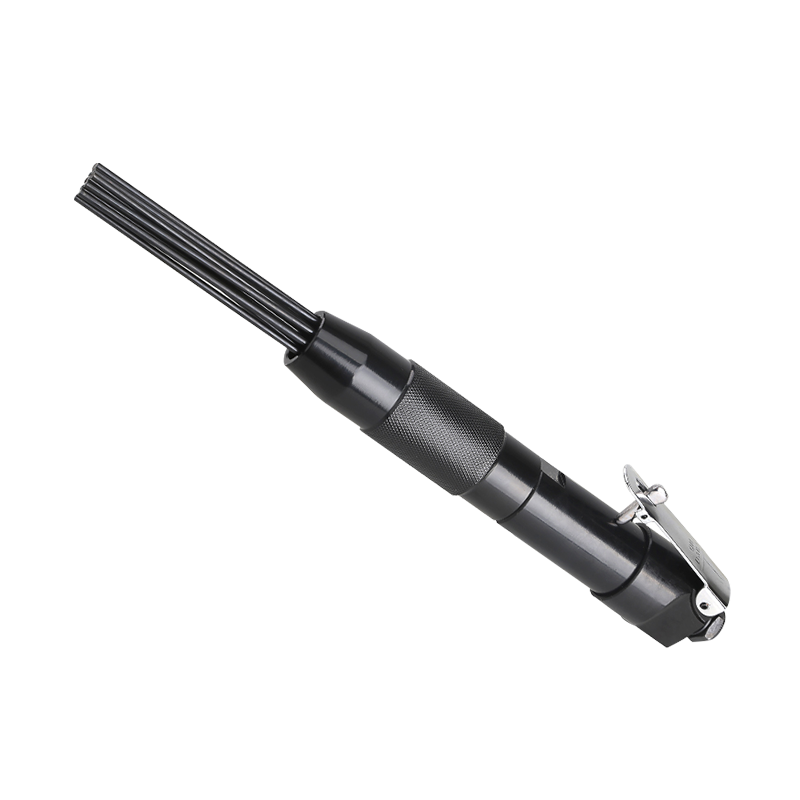
RH-460 Mini Compact Pneumatic Air Needle Scaler
-
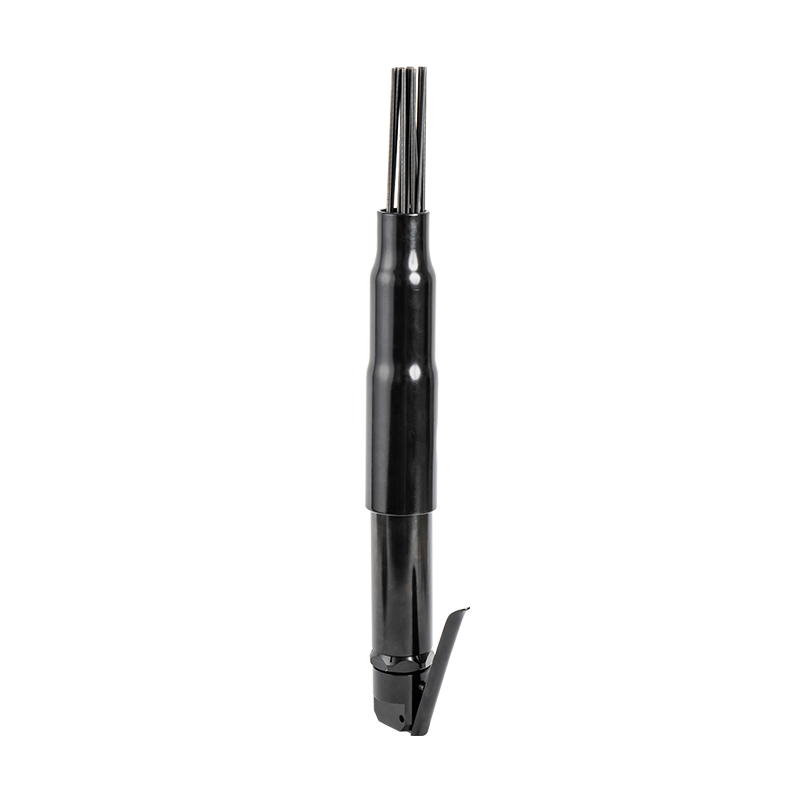
RH-462 Portable Industrial Straight Needle Scaler
-
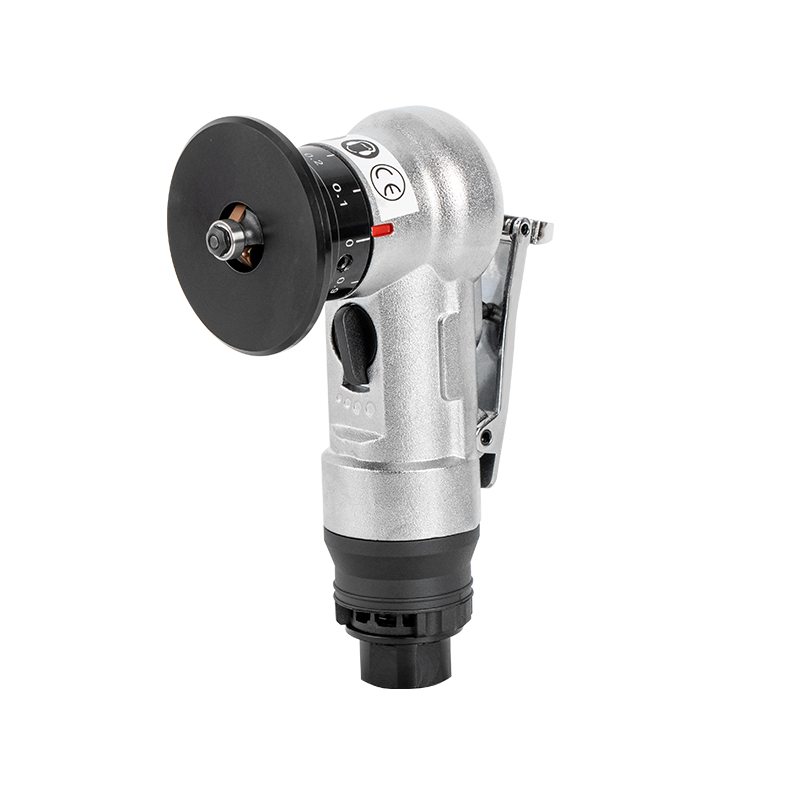
RH-7034C Portable Pneumatic Chamfering Machine
-
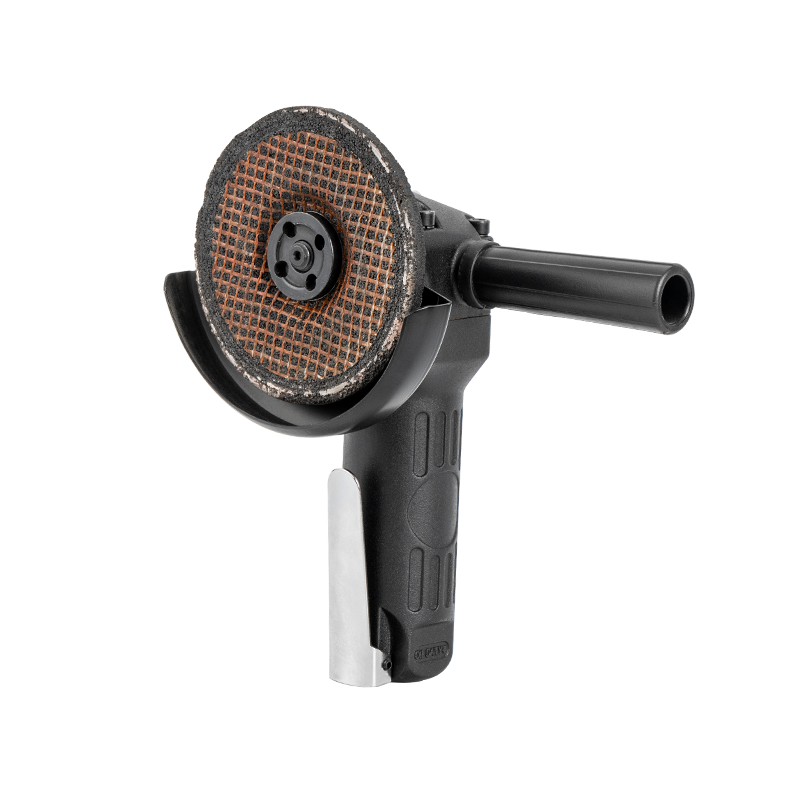
RH-7034B Central Pneumatic 4" Air Angle Grinder
-
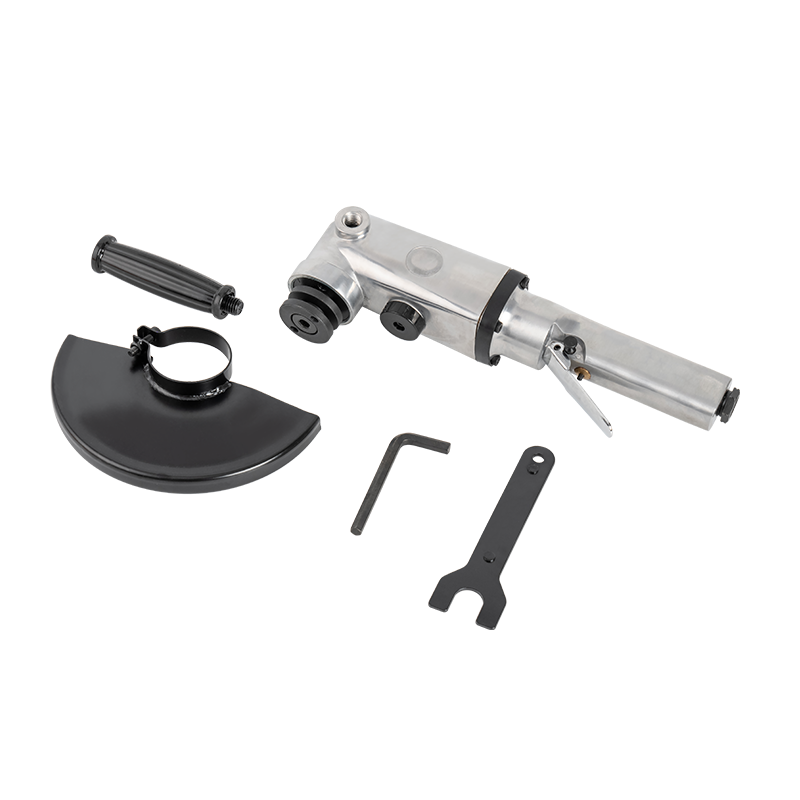
RH-7034D 7" Hand Held Angle Grinder
-
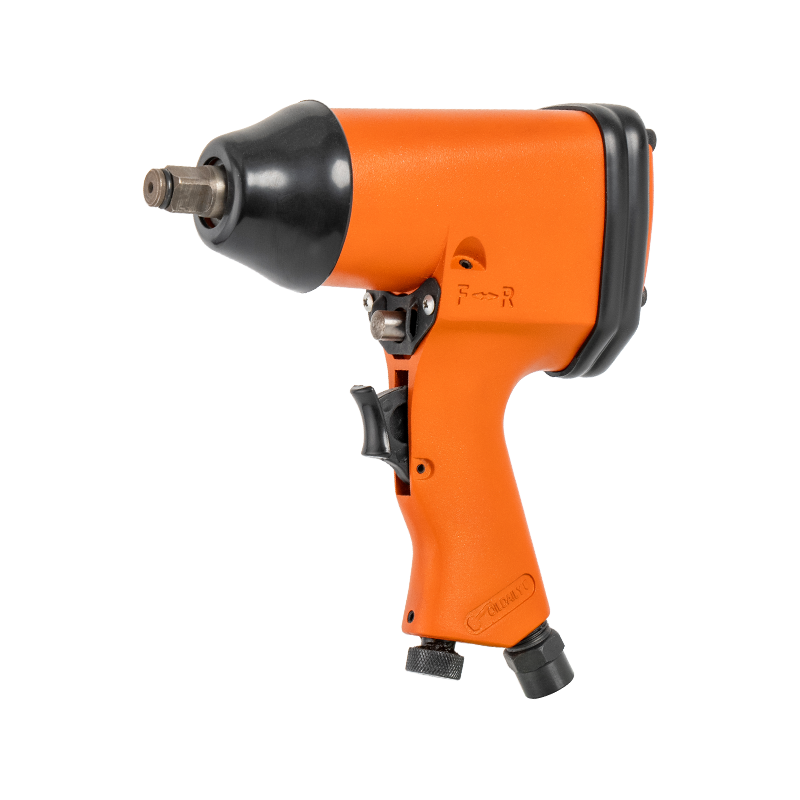
RH-160 1/2" Drive Single Hammer Air Pneumatic Impact Wrench
-
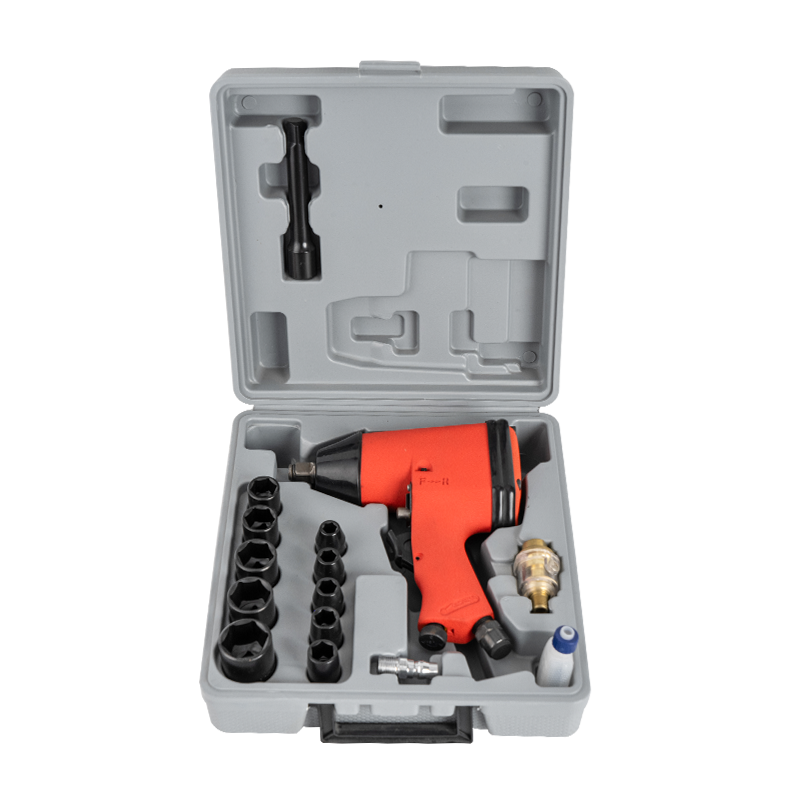
RH-160K Cordless Electric Rechargeable Air Impact Wrench Kit
-
RH-112 1/2" Universal Electric Ratchet Wrench Hand Tool
-
RH-128 1/2" High Torque Electric Ratchet Wrench
-
RH-138 3/8" Long Head Portable Cordless Electric Ratchet Wrench
-
RH-148 1/4" Electric Battery Ratchet Wrench
CONTACT OUR EXPERTS
AND GET A FREE CONSULTATION!
Ningbo Haishu Renhao Pneumatic Co., Ltd.
 Address: Jiangbei District Ningbo City in Zhejiang Province by the Keli industrial ParkL Building 15th
 Phone: +86-139 0668 0779
 Tel: +86-139 0668 0779
 Fax: +86-139 0668 0779
 E-mail:[email protected]


