


 عربى
عربى 中文简体
中文简体Search by posts
Calendar
Product Categories
Industry News
 By Admin
When Is a Pneumatic Drill Commonly Used? 8 Situations, Tools, and Air Supply Rules
A maintenance crew repairing a steel footbridge over a tidal river has no socket within 300 metres. The nearest generator sits on the far bank. They still have to drill 240 holes through the deck plates for new rivets, in wind, in salt spray, and in a gap between the stringers so narrow that a pistol-grip drill will not fit. The tool that does the work is not the newest cordless model in the van. It is a 3/8-inch pneumatic drill running off a tow-behind compressor. That scene answers most of the question before we get to the theory. A pneumatic drill is commonly used when no safe electrical supply is available, when the hole is in a place an electric drill body cannot reach, when the surrounding atmosphere is flammable, when the tool needs to run for hours without a thermal pause, or when compressed air is already plumbed around the workplace for other reasons. Those five conditions cover the overwhelming majority of real jobs. Everything else that people argue about, such as torque, noise, hole size, and running cost, follows from them rather than replacing them. This article takes the question apart in the order that matters on site: first the conditions that make air the standard choice, then the cases where air is the wrong answer, then the air supply and accessory details that decide whether the drill actually performs on the day. If you only need one paragraph, this is it. A pneumatic drill is commonly used: Notice what is not on that list. Noise is not a reason to choose an air drill; it is one of the strongest reasons not to. Air drills are loud. A typical 3/8-inch drill gun under load produces somewhere between 85 and 100 dB(A) at the operator's ear, and the exhaust note carries further than the drilling noise itself. Any training question that offers "in areas where noise is a problem" as an option is pointing at a distractor, and it is worth remembering that on a multiple-choice test and in a purchasing meeting alike. The other point worth stating early is that "when electricity is unavailable" is the most commonly cited answer because it is the most common single cause, not because it is the whole story. In a shipyard, an assembly plant, or a foundry, the electricity is usually available and reliable. Those sites choose air for the other four reasons instead. Understanding the mechanism explains almost every strength and weakness of the tool. Inside the handle of a pneumatic drill there is a cylindrical housing with an offset rotor. The rotor carries several sliding vanes in slots. Compressed air enters at around 6.3 bar (90 psi), pushes against the exposed vane faces, expands, and escapes through the exhaust ports. The rotor spins at very high speed, usually tens of thousands of revolutions per minute, and a planetary gear set reduces that down to the few hundred to roughly 2,500 rpm you feel at the chuck. Three practical consequences follow from that design. First, there is no commutator, no brush, and no winding, so nothing inside the tool arcs or cooks. Second, the expanding air cools the motor as it works, which is why an air drill can be run flat out for hours. Third, when the bit jams, the motor simply stalls and waits; release the trigger or reverse the tool and it starts again. More detail on the underlying hardware is covered in this explanation of what is a pneumatic tool. An air motor produces its rated power only when it receives the rated pressure at its inlet while running. That phrase, "while running", is where most site problems begin. A compressor gauge reading 8 bar does not mean the tool sees 6.3 bar. Pressure falls across undersized hoses, narrow couplers, sharp bends, and long runs. As a working rule, every 1 bar lost between the receiver and the tool costs roughly 10 to 15 percent of available power, and the loss shows up as a drill that will not cut, a bit that overheats, and an operator who leans on the tool until something breaks. Air consumption matters just as much as pressure. A 3/8-inch drill gun typically draws around 3 to 6 CFM at 90 psi, while a 1/2-inch model with a keyed chuck and higher torque can pull 6 to 9 CFM. A small 25-litre DIY compressor rated at 1.5 kW cannot sustain that. It will run the drill for four or five seconds and then fall behind, and the drill will feel weak and unpredictable for the rest of the shift. The compressor has to be sized for the tool, not the other way around. This is the classic answer, and it is still the most frequent practical reason. A pneumatic drill does not need a socket, a transformer, an earth connection, or a residual current device. It needs a hose and a compressor, and a compressor can be towed, hired, or already sitting on the truck. The situations where this matters are easy to list. Road and bridge work, where the nearest supply is kilometres away and the work moves daily. Tunnel and shaft work, where trailing cables are a trip hazard and a shock hazard in wet ground. Demolition inside a building whose supply has already been isolated. Pipeline and wellhead maintenance in remote locations. Marine work on a pontoon or a moored vessel, where 230-volt equipment and standing water are a combination nobody wants to defend in an incident report. Storm and flood recovery, where the local grid is down but a diesel compressor still starts. There is a cost argument here as well, and it is often the deciding one. A generator big enough to run a 1,000-watt electric drill, plus its fuel, its noise, and its maintenance, is a bigger commitment than a tow-behind compressor that also runs impact wrenches, needle scalers, grinders, and blow guns on the same job. Once the compressor is on site, each additional air tool is a hose and a coupler away. Confined access is the second most common reason, and it is the one that engineers underrate until they are standing in front of the problem. An electric drill has to contain a motor, a fan, a switch, a gearbox, and often a battery pack, all arranged in a body long enough for a hand to grip. An air drill has a rotor, a few vanes, and a gear set, and the air line comes in from behind through a flexible hose. That difference in packaging is why air tools can be built as short right-angle heads, offset heads, and low-profile straight bodies that fit into spaces no cordless drill can enter. Typical examples from real work: drilling through a truck chassis rail with the body sitting 60 mm from a fuel tank; adding rivet holes inside a boiler shell through a 300 mm hand hole; drilling cable tray supports behind an already-installed pipe rack; fixing brackets between wall studs where the drill has to sit flat against the plasterboard; and drilling fastener holes in aircraft wing panels where the head has to pass between ribs. Torque delivery also behaves differently in tight spaces. Because the air motor can be stalled without damage, the operator can start a hole with the bit partly engaged, let the tool stall, reposition the hand, and continue, without the smell of a burning armature. In this kind of work, a right-angle reversible body with a compact head is usually the tool that gets specified. That class of tool exists because the access problem is common, not because it is exotic. When a customer sends us a photograph of a chassis rail, a boiler shell, or a cabinet interior and asks which of our models will fit, the answer is almost always a right-angle or low-speed straight unit rather than a bigger pistol grip. Air motors do not spark at the motor. There is no commutator, no brush gear, and no arcing contactor inside the tool. That single fact makes pneumatic drills the default choice in refineries, tank farms, LPG terminals, paint and solvent booths, grain elevators, coal handling plants, and sewage treatment buildings where methane accumulates. The comparison with electric tools deserves to be stated carefully, because it is often overstated in both directions. A corded drill with a brushed motor arcs at the brushes by design. A brushless tool removes the brushes but adds power electronics and a hot housing. Neither automatically becomes an ignition source in normal use, but both introduce an electrical energy path into an area where the classification rules were written to keep electrical energy out. An air drill avoids that argument entirely. It does not, however, make the operation automatically safe. The drill bit itself can strike a steel surface and produce a spark, hot metal chips can land on something that should not be hot, and a badly maintained tool with a dry motor can run hot enough to matter in a classified zone. The correct framing is that the pneumatic drill removes one ignition source from the list, and the rest of the job still has to be managed with the usual permits, gas testing, and hot work controls. Duty cycle is where air tools separate themselves most clearly from electrical alternatives, and it is the reason air is chosen in high-volume production rather than remote work. An electric motor converts electrical energy into heat when it is overloaded, and the heat accumulates in the windings. A stalled electric drill draws locked-rotor current, heats rapidly, and eventually fails. An air motor responds to overload by slowing down and stopping. The air keeps flowing, the expanding air keeps cooling the internals, and nothing degrades. Release the trigger and the tool returns to full output. Repeat that cycle 2,000 times in a shift and the air motor is still within its design envelope. That is why air drills appear on assembly lines fastening seat frames, on production benches drilling hinge plates, on appliance lines drilling screw holes in sheet metal, and in maintenance shops where one drill is shared by three shifts. It is not that the air tool is more precise or more powerful in absolute terms. It is that the tool can be worked hard without a thermal limit becoming the production constraint. One-handed reversible units in the 1/2-inch class are the usual answer for that pattern of work, because the operator's free hand is holding the workpiece or the fixture rather than the tool. Foundries, die-casting cells, plating lines, wash-down areas in food plants, engine rooms, and outdoor yards after rain share one characteristic: the environment attacks tools. Electrical equipment in those places needs enclosures, seals, and inspection regimes. Battery packs need to be kept out of heat and moisture, and their capacity falls in the cold. An air drill is indifferent to humidity and tolerant of dust. The exhaust air is cold, expands out of the tool, and can be directed to blow chips away from the hole. If the tool is dropped in a puddle, it does not short out; it drips and keeps working. This is why marine, foundry, and heavy fabrication shops treat air tools as consumables rather than fragile instruments. The one enemy in these environments is water inside the air line. Condensate carries fine rust and compressor oil downstream, and that slurry grinds the vanes, gums the rotor, and eventually seizes the tool. Fitting a filter and a drain, and draining the receiver daily, extends the life of every air tool on the site more than any other single habit. Power-to-weight ratio is the quiet advantage of pneumatic tools, and it shows up in tasks where the operator, not the material, is the limiting factor. A 3/8-inch air drill gun typically weighs between 1.0 and 1.4 kg. A comparable corded electric drill weighs 1.6 to 2.2 kg, and a battery model with a 4 Ah pack often lands between 1.9 and 2.6 kg, with the mass concentrated at the base of the handle. Hold either of those above shoulder height for 200 holes and the arithmetic becomes obvious. The air drill is not only lighter; its centre of gravity sits closer to the operator's hand, and the hose carries the weight of the supply away from the tool. Overhead drilling is also where air tools show their limits most clearly. Exhaust air blows into the operator's face unless the tool is fitted with a rear exhaust or a deflector, and the noise is closer to the ears. Choosing a rear-exhaust model, adding a side handle where the tool supports one, and using a lightweight hose of the correct diameter makes the difference between a two-hour job and a four-hour job. Being clear about the other side of the argument is what makes a purchasing decision defensible. The pattern behind these exceptions is consistent. Air wins on access, duty cycle, environment, and hazard elimination. Electric wins on noise, portability, precision control, and light intermittent use. A well-equipped shop usually owns both and chooses per job. The category is wider than most buyers expect. The table below maps common configurations to the work they are specified for, which is a more useful starting point than a torque figure on its own. Two selection habits are worth forming. First, choose the body shape for the access condition before choosing the power level, because a powerful drill that will not fit is worth nothing. Second, match spindle speed to the bit material; too much speed on a large high-speed steel bit in stainless is the fastest way to burn an edge and blame the tool. Most buying decisions are not made on peak torque. They are made on the six or seven lines below, and the ranking of those lines differs completely between a fabrication shop and a service van. The conclusion that usually emerges is that the compressor, not the drill, is the investment. Once air is available, the marginal cost of adding a drill, a grinder, a needle scaler, or an impact wrench is small, and that is exactly why maintenance workshops with a fixed compressed air system rarely go back to electric hand tools for production work. Nine out of ten complaints about a pneumatic drill being "weak" trace back to the air supply rather than the tool. Work through this list before anything is sent back for inspection. Air tools live or die by the small parts around them, and this is where most buyers under-specify. A quick-change chuck adapter lets an operator switch between drill bits and other accessories without hunting for a chuck key, which matters on a production bench where changeover time is measured in seconds per cycle. A flow regulator control valve lets the same drill run a small pilot hole at reduced speed and a large hole at full flow without changing tools. A swivel universal connector takes the fight out of a stiff hose and reduces wrist fatigue on long shifts. Side handle fixtures and fixed handles improve control on high-torque models where the reaction torque has to be resisted by the operator. None of these items is expensive, and collectively they change how a drill feels in use more than a modest step up in motor size would. When a customer reports that a drill "does not hold speed" or "twists in the hand", the first questions should be about the coupler, the hose, and the handle, not the motor. Work through these points in order. Each one eliminates models quickly, which is more useful than comparing specifications across the whole catalogue. As a manufacturer of pneumatic tools and accessories, we see the same pattern repeatedly: the customers who get the best results are the ones who send a photograph of the job and a pressure reading before ordering, rather than a specification sheet after a disappointing first week. Standard drilling safety applies to every tool. These points are particular to air. The question "when is a pneumatic drill commonly used" has a tidy exam answer and a messier practical one, and the practical version is the one that saves money. Air drills are bought when there is no electricity, when the hole is somewhere an electric body cannot reach, when the atmosphere is flammable, when the tool has to run all shift without a thermal pause, when the environment is wet or hot, or when a compressed air system already exists and adding another tool costs almost nothing. They are the wrong purchase when noise is the binding constraint, when the air supply is a small DIY compressor, when precision control in soft materials matters more than access, or when the tool will sit in a cupboard for eleven months of the year. Sorting the job into one of those two groups takes about five minutes and prevents most of the disappointing outcomes in this category. If the answer lands in the first group, the next step is not to pick a model number from a list. It is to write down the clearance around the hole, the hole diameter and material, whether reverse is needed, the working posture, and the pressure and flow the site can actually deliver at the tool inlet. Those five facts determine the body shape, the chuck size, the spindle speed, and the accessory set, and any supplier who can work from them will get the selection right the first time.The Short Answer: Five Situations Where an Air Drill Is the Standard Choice
How an Air Drill Turns Compressed Air into Torque
The vane motor, in plain terms
What the air line really determines
When There Is No Safe Electricity Within Reach
The Hole Is Somewhere a Pistol Grip Will Not Fit
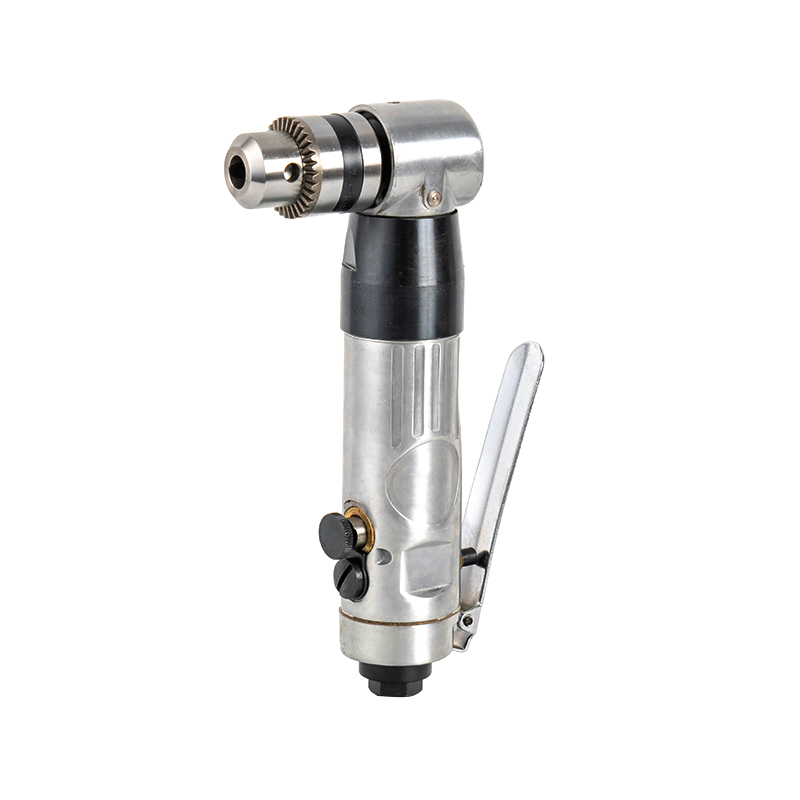 RH-338 3/8 Right Angle Reversible Pneumatic DrillA compact right-angle air drill with forward/reverse and adjustable torque, suited to drilling in narrow corners where access, not power, decides the tool.View Product →
The Atmosphere Is Flammable or Explosive
The Tool Has to Run All Shift Without Cooling Down
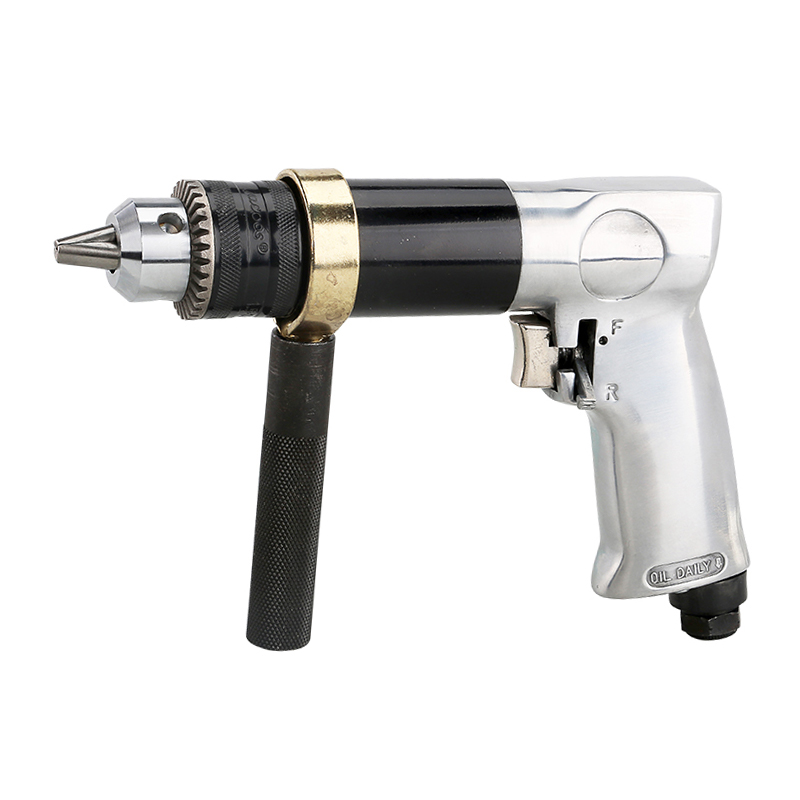 RH-336 1/2-Inch One-Handed Forward/Reverse Air DrillA lightweight pneumatic drill designed for one-handed drilling and backing out, useful on assembly or production work where the free hand steadies the workpiece.View Product →
The Workplace Is Wet, Dusty, or Hot
The Drill Has to Be Held Overhead or One-Handed
When a Pneumatic Drill Is Not the Right Choice
Air Drill Types and the Jobs They Are Bought For
Configuration
Typical spindle speed
Chuck and capacity
Where it is the standard choice
3/8-inch single-speed drill gun
Roughly 1,800 to 2,500 rpm
3/8-inch keyed or keyless, up to about 10 mm in steel
General sheet metal, sub-assembly benches, aluminium and composite panels, bracket work
3/8-inch reversible drill gun
Similar to above, with reverse
3/8-inch, up to about 10 mm
Tapping, backing a binding bit out of stainless, screw removal, holes where chips jam
1/2-inch keyed chuck drill
Roughly 500 to 900 rpm
1/2-inch keyed, up to about 13 mm
Structural steel, tube sheets, larger bits that need grip rather than speed
1/2-inch one-handed reversible drill
Roughly 800 to 1,800 rpm
1/2-inch, up to about 13 mm
Overhead drilling, assembly lines, work where one hand holds the fixture
Right-angle reversible drill
Roughly 700 to 1,800 rpm
3/8-inch, up to about 10 mm
Chassis rails, cabinet interiors, boiler shells, pipe racks, any 90-degree access
High-torque low-speed right angle
Roughly 300 to 800 rpm
3/8 or 1/2-inch
Large holes in confined space, stainless and high-alloy work, controlled feed
Low-speed reversible right angle
Roughly 200 to 600 rpm
3/8-inch
Reaming, honing, thread cutting, and jobs where surface finish matters more than speed
Pneumatic vs Corded vs Battery: The Comparison That Actually Decides the Purchase
Criterion
Pneumatic drill
Corded electric drill
Battery drill
Power source
Compressed air at about 6.3 bar
Mains supply, typically 230 V or 110 V
Rechargeable battery pack
Power-to-weight
High, often 1.0 to 1.6 kg for a 3/8-inch gun
Moderate, roughly 1.6 to 2.2 kg
Lower, roughly 1.9 to 2.6 kg with a working pack
Behaviour under overload
Stalls and recovers; no damage from repeated stalls
Heats; locked rotor can burn the motor
Electronics cut out; repeated trips generate heat
Duty cycle
Continuous, limited only by air supply
Continuous at light load, derated under heavy load
Limited by battery capacity and thermal cut-out
Noise
High, commonly 85 to 100 dB(A)
Moderate, typically 75 to 90 dB(A)
Moderate, similar to corded
Environment tolerance
Wet, dusty, and hot conditions with little effect
Requires protection from water and dust
Poor in heat and moisture; capacity falls in cold
Upfront cost
Tool is inexpensive; compressor and piping are the real cost
Low, no supporting infrastructure
Moderate to high per tool, plus packs and chargers
Running cost
Low per tool once air is available; compressors are inefficient overall
Low and predictable
Battery replacement dominates long-term cost
Speed control
Trigger plus inline flow regulation
Trigger plus electronic speed dial
Trigger plus electronic speed selection
Best fit
Production, confined access, hazardous areas, remote sites
Bench work, heavy intermittent drilling, fixed stations
Service calls, low volume, mobility-first work
The Air Supply Checklist: Pressure, Flow, Hose, and Water
Accessories That Decide Whether the Drill Performs
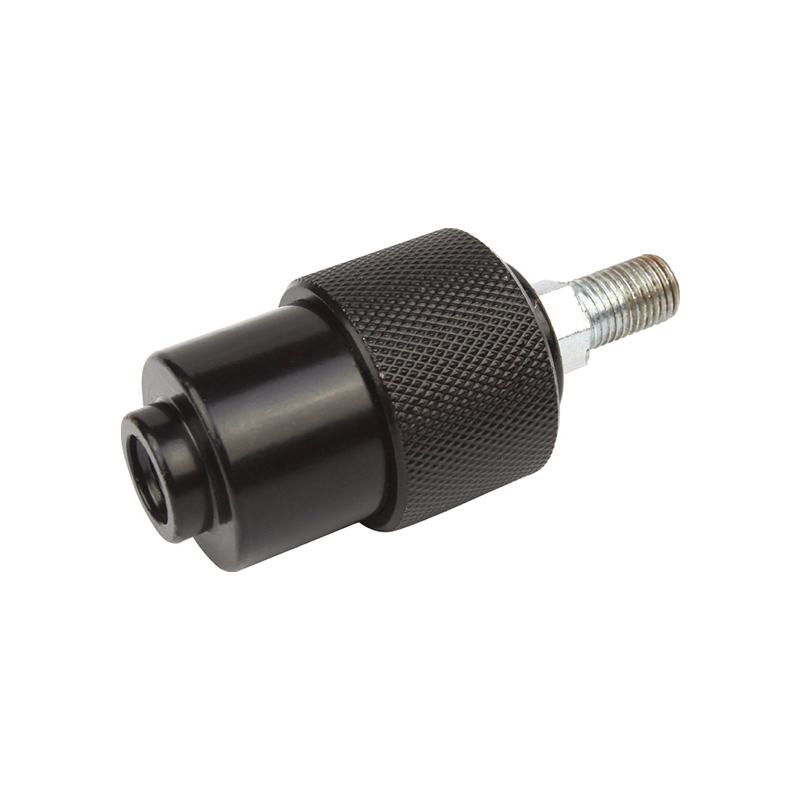 RH-K Quick-Change Fixture Clamp AdapterA pneumatic accessory for tool-free fixture or tool-head changes with precise positioning, suited to CNC and small-batch machining setups needing fast adaptation.View Product →
How to Choose a Pneumatic Drill for a Specific Job
Safety Points Specific to Air Drills
Matching the Power Source to the Job, Not the Other Way Around
Recommended products
-
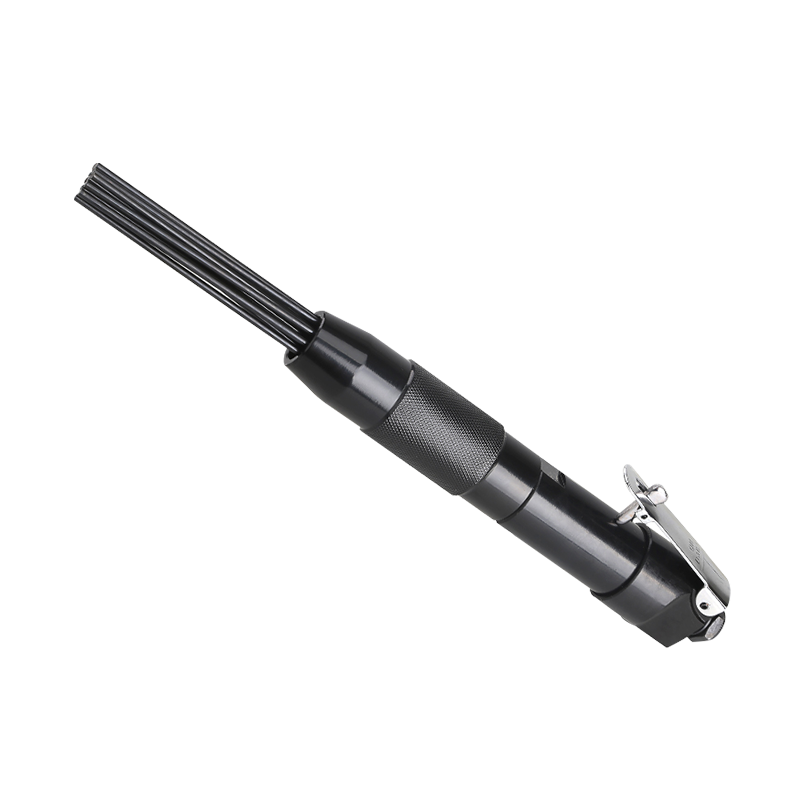
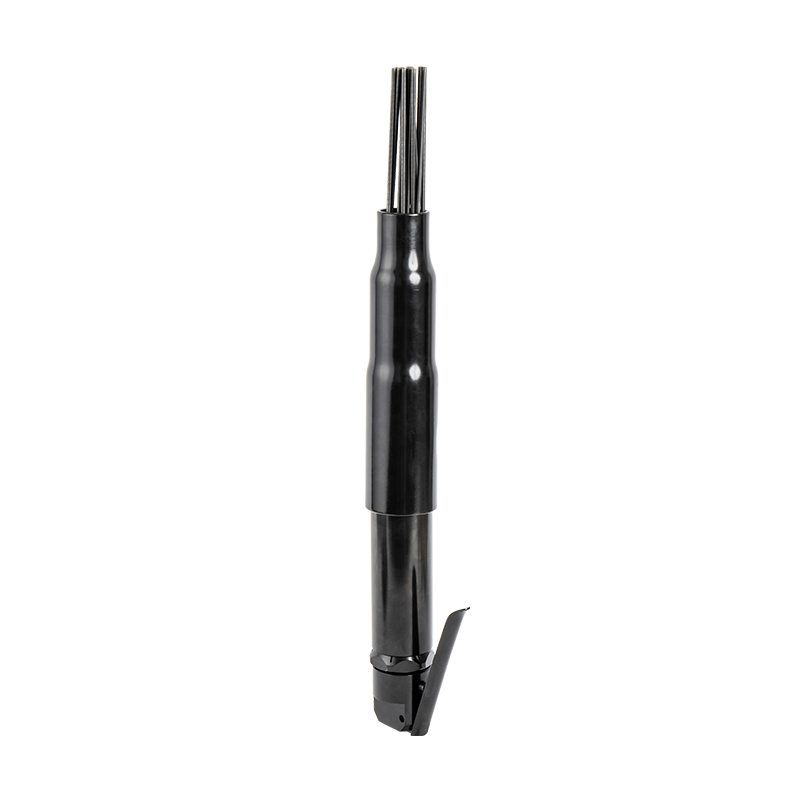
RH-464 Pneumatic Corner Needle Scaler
-
RH-460 Mini Compact Pneumatic Air Needle Scaler
-
RH-462 Portable Industrial Straight Needle Scaler
-
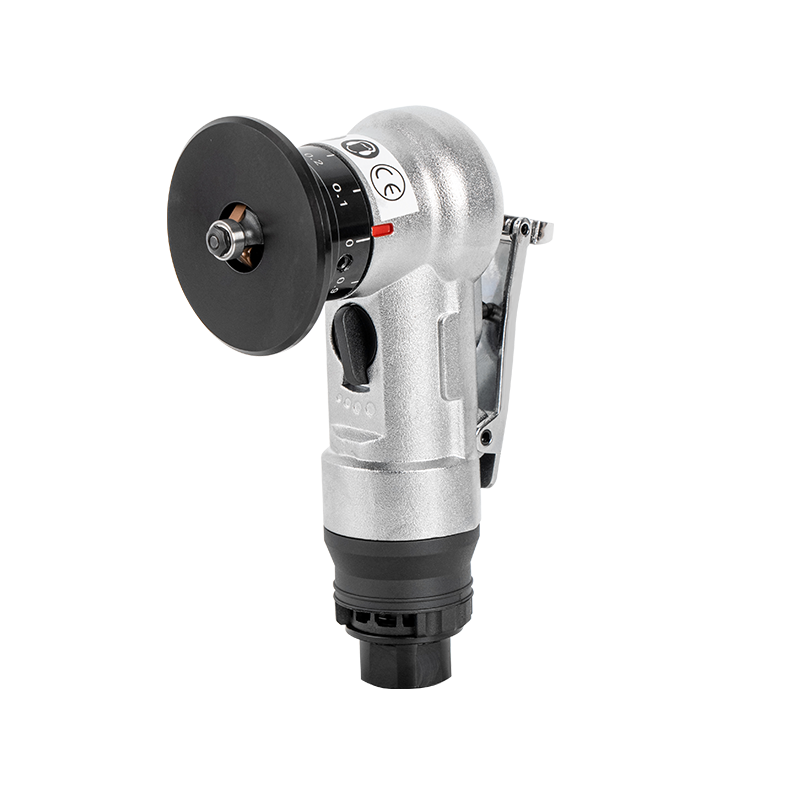
RH-7034C Portable Pneumatic Chamfering Machine
-
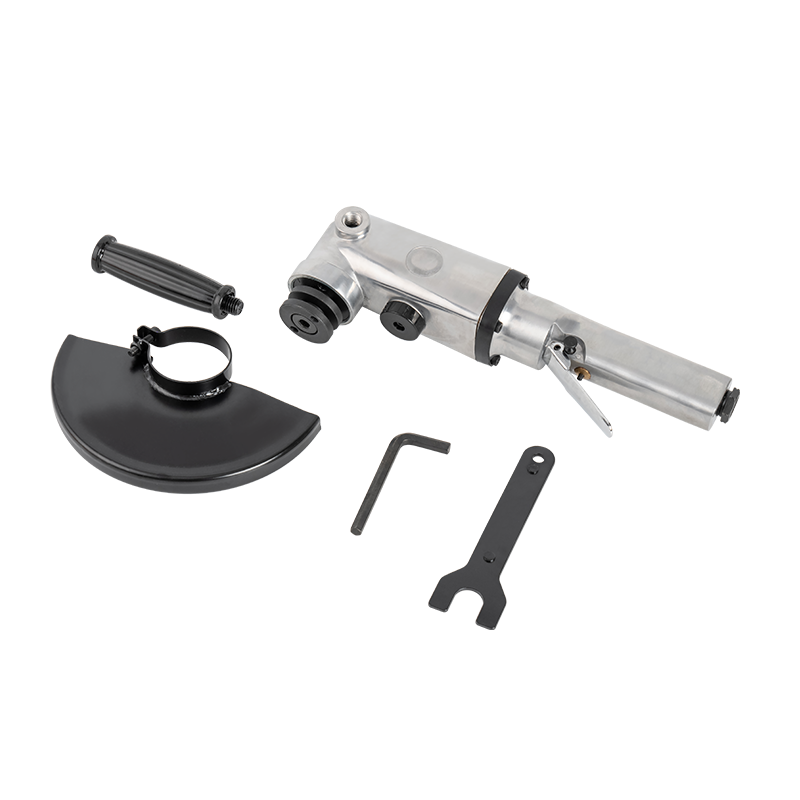
RH-7034B Central Pneumatic 4" Air Angle Grinder
-
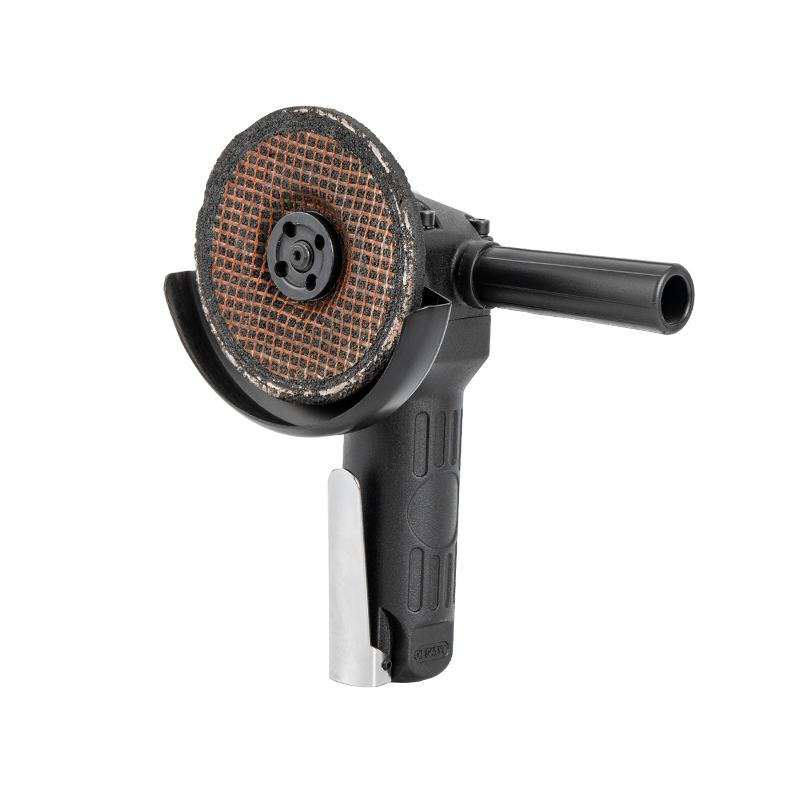
RH-7034D 7" Hand Held Angle Grinder
-
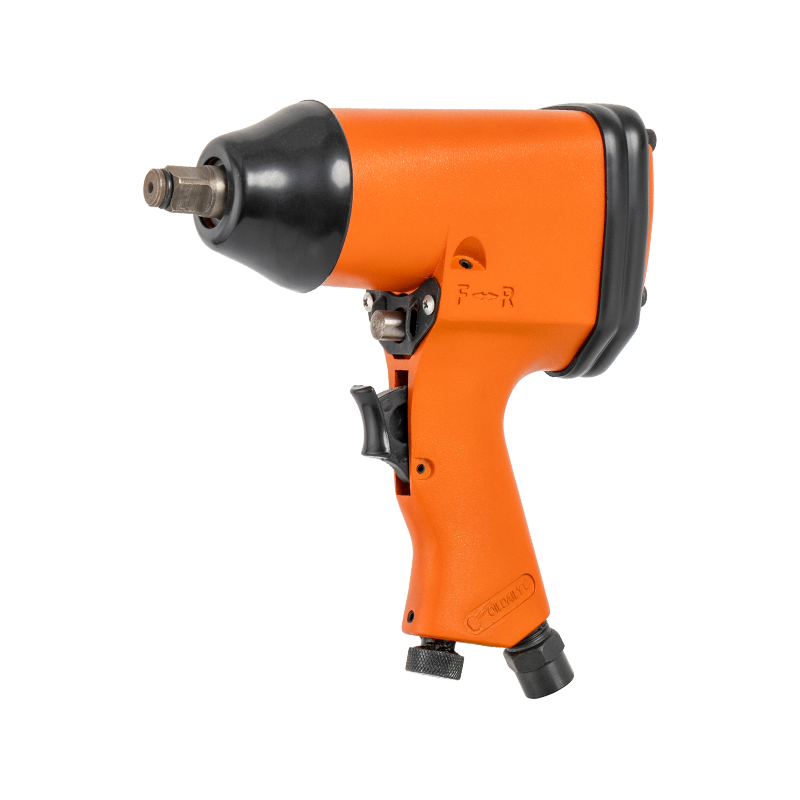
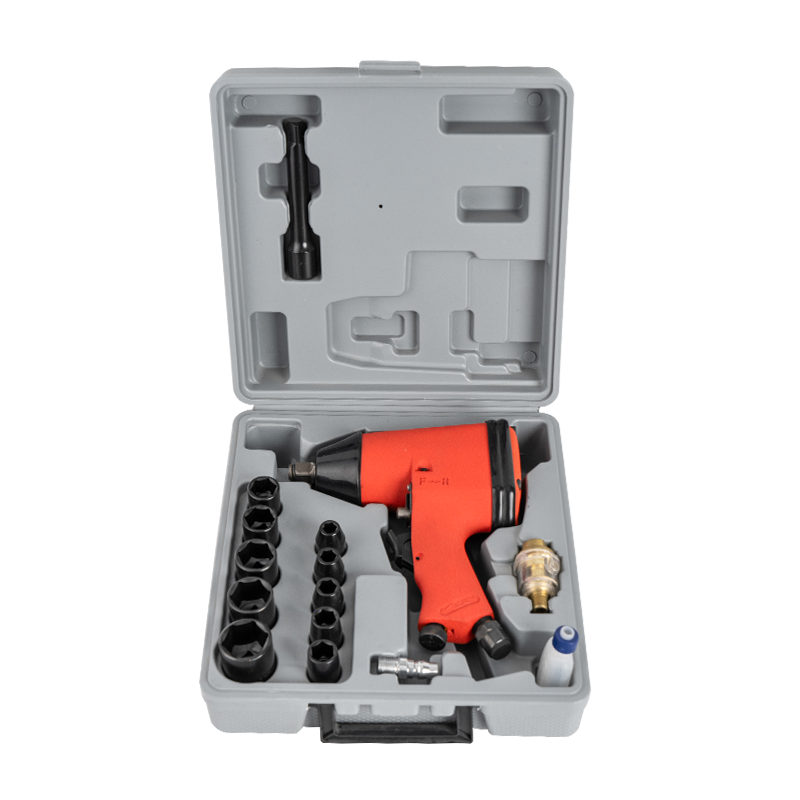
RH-160 1/2" Drive Single Hammer Air Pneumatic Impact Wrench
-
RH-160K Cordless Electric Rechargeable Air Impact Wrench Kit
-
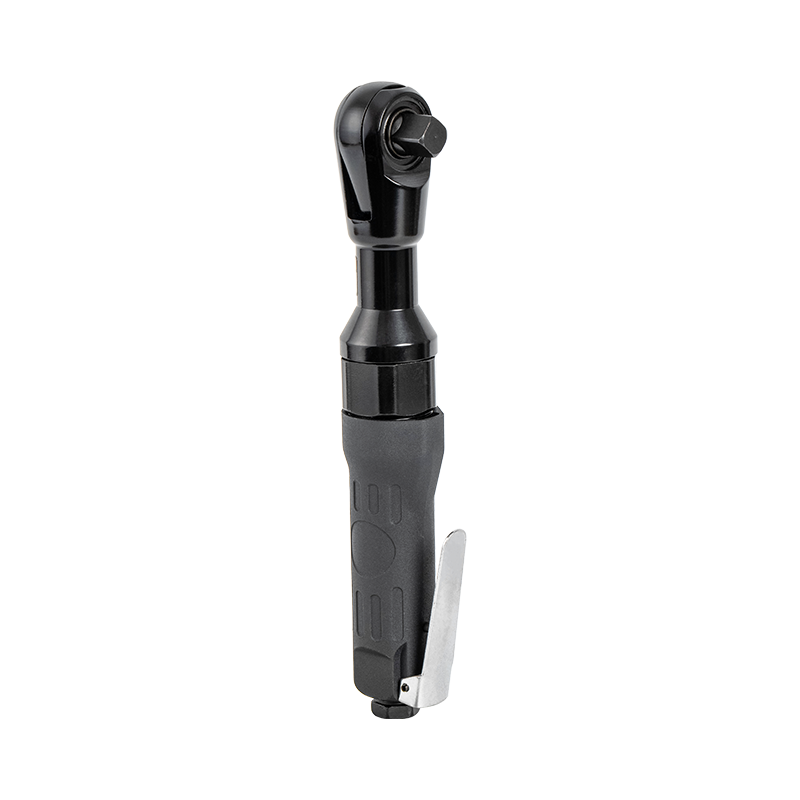
RH-112 1/2" Universal Electric Ratchet Wrench Hand Tool
-
RH-128 1/2" High Torque Electric Ratchet Wrench
-
RH-138 3/8" Long Head Portable Cordless Electric Ratchet Wrench
-
RH-148 1/4" Electric Battery Ratchet Wrench
CONTACT OUR EXPERTS
AND GET A FREE CONSULTATION!
Ningbo Haishu Renhao Pneumatic Co., Ltd.
 Address: Jiangbei District Ningbo City in Zhejiang Province by the Keli industrial ParkL Building 15th
 Phone: +86-139 0668 0779
 Tel: +86-139 0668 0779
 Fax: +86-139 0668 0779
 E-mail:[email protected]


